
Screenshots
Capture a chart, choose its presentation, and download an image for your notes or posts.
Use Screenshot in the right-hand rail to turn your chart into an image for a review, presentation, or social post. You can capture the full chart or focus on a selected portion.
Choose what to capture
- Set up the chart and visible range you want to show.
- Click Screenshot, the camera icon at the top of the right-hand rail.
- Choose Full screenshot or Select portion. For a selected portion, select the area of the chart you want to capture.
- Review the image before exporting it.
For a quick copy without opening the preview, choose Copy to clipboard from the same menu, then paste the image into your destination.
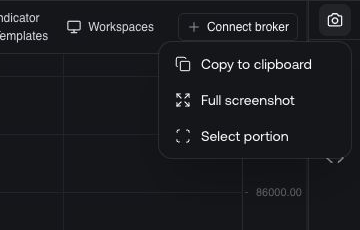
Prepare the image
Use the Style dropdown to choose the image’s presentation:
- Chart keeps the original chart appearance, including its grid and labels.
- Styled uses larger symbol and price labels, a simplified chart presentation, and prominent Vela branding.
Both styles offer Indicators and Frame switches under Include. Indicators controls indicator plots and labels in the export. Frame adds a dotted background, padding, and shadow; turn it off for an image without that surrounding frame.
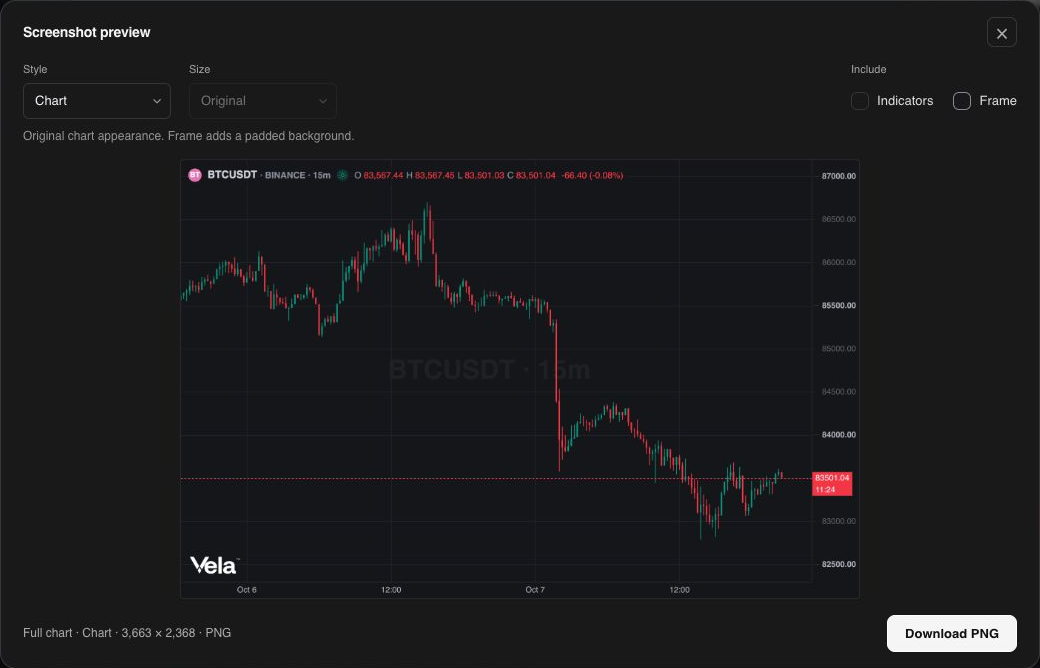
Choose a size
In Styled, use the Size dropdown to choose a layout preset. Chart keeps the original dimensions, so its Size control is unavailable.
| Preset | Shape |
|---|---|
| Original | Uses the capture’s default layout. |
| 16:9 | Wide landscape. |
| 9:6 | Landscape. |
| Square (1:1) | Square. |
| Portrait (9:16) | Tall portrait. |
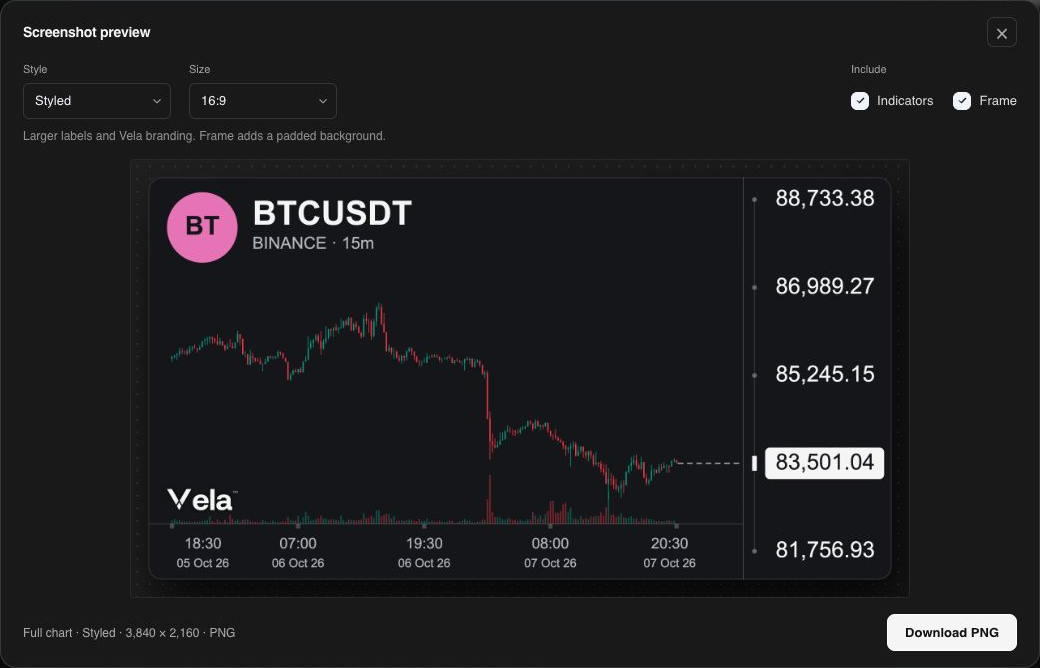
Check the preview for readable labels, the intended date range, and details near the edge of a selected portion. The footer shows the capture type, style, image dimensions, and file format. Changing the size or frame can change the output dimensions.
Download and share
Click Download PNG to save the finished image, then attach it to your notes, presentation, or post. A screenshot records the view at the time you capture it; it does not update with the live chart.
To share a chart setup that someone can open and work with, use workspace sharing.
Send chart context to Quant
To give Quant an image with your request, use + → Attach chart screenshot in the chat composer, or upload or paste an image.
For a specific pattern or chart detail, choose Capture area for Quant on the left drawing toolbar. Select the region and add your prompt there. See From a region on the chart for the walkthrough.